Harvesting 18650s from laptop batteries
18650 batteries are commonly used in laptops as a source of power. However, when the battery is no longer holding a charge, or when you need to replace it with a new one, you will need to remove the old battery. In this article, we will guide you through the process of removing 18650 batteries from laptop batteries.
Step 1: Prepare the tools
To remove the 18650 battery, you will need a set of screwdrivers, a pair of pliers, and a soldering iron. Make sure the screwdriver fits the screws in your laptop battery. Also, ensure the soldering iron has a small tip and is not too hot.
Step 2: Open the laptop battery
To open the laptop battery, use the screwdriver to remove the screws from the battery casing. Once the screws are removed, gently pry the casing open using the pliers. Be careful not to damage any wires or components inside the battery.
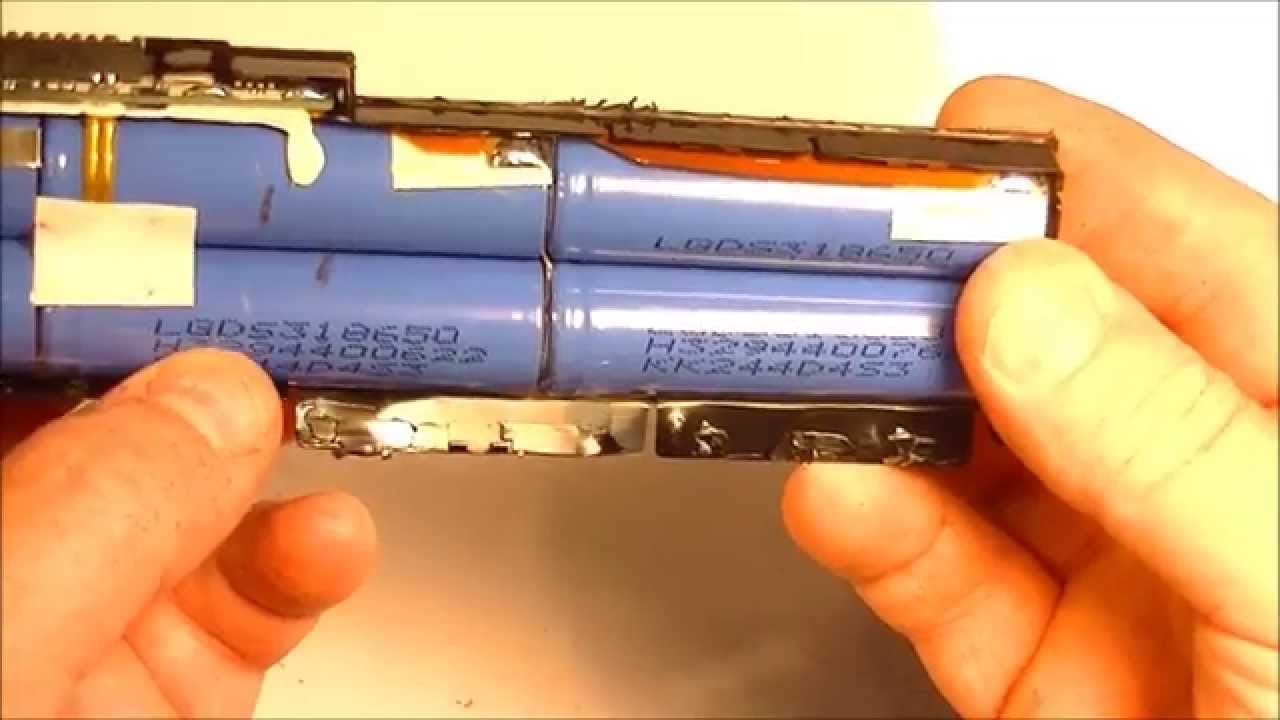
Step 3: Identify the 18650 battery
Once you have opened the laptop battery, you will see several components, including the 18650 battery. It is a cylindrical-shaped battery with a length of 65mm and a diameter of 18mm. The battery may be connected to the circuit board or other components of the laptop battery.
Step 4: Disconnect the 18650 battery
Use the soldering iron to heat the solder joints that connect the 18650 battery to the circuit board. Once the solder melts, use the pliers to gently pull the battery away from the circuit board. Make sure you do not damage any other components while removing the battery.
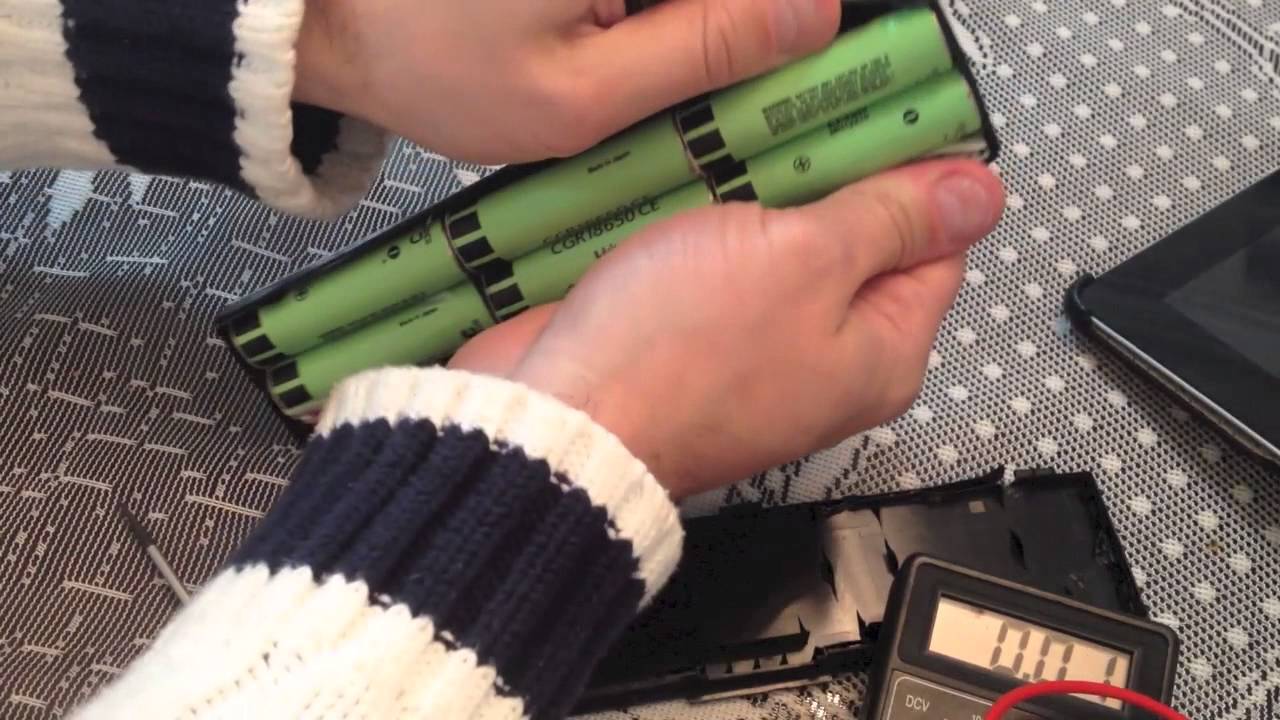
Step 5: Remove the 18650 battery
After you have disconnected the 18650 battery from the circuit board, you can remove it from the laptop battery casing. Gently pull the battery out of the casing and place it in a safe place away from heat or direct sunlight.


© JonahDevs 2023